Thread Repair with Time-Sert, Step-by-Step Installation Guide
WiseAutoTools.com Summary: Learn how to install Time-Sert for a reliable thread repair. Follow our step-by-step guide and avoid common mistakes.
Time-Sert is a solid bushing insert that provides a strong, permanent repair for stripped or damaged threads. It is a popular choice among mechanics, machinists, and DIY enthusiasts who want a reliable and long-lasting repair for threaded holes. In this article, we'll guide you through the installation process for a Time-Sert thread repair kit step by step.
Before beginning the installation process, ensure that you have all the necessary tools, such as normal mechanics tools, an air compressor, air ratchet, hand ratchet, sockets, extensions, and the specific Time-Sert kit for your application. It's also important to note that improper installation can compromise the strength and integrity of the repair. If you're unsure about any aspect of the installation process, ask for advice or assistance.
Installation Procedure:
Consider if shavings are a problem with the particular repair being done. For example, you may need to tape off a block before drilling head bolt holes or close valves for spark plug thread repairs. In the case of doing a spark plug thread repair you'd want the valves closed so you can blow the debris out of the cylinder after the repair. If doing an oil pan thread repair you would want to flush out metal debris by running some oil through before putting the drain plug in. If doing a repair on the front of the block for an accessory, there may not be a risk of debris getting inside the engine. Use your judgment.
Some kits like the 4412 series kits don't require a drill or reamer, they have a seat cutter that creates the recess for the insert. Each kit may vary a little so again that's why following the specific kit's instructions is required.
If the Time-Sert kit comes with a reamer or drill bit, ream or drill out the hole. Counterbore the hole using the tool provided in the kit. Note some kits have the counter-bore built into the drill bit (or reamer). Some kits have a seat cutter. The counter-bore tool (if not part of the drill/reamer) has a built-in depth-stop feature that limits the counterbore to the correct depth for installation of the insert, creating a "recess area" for the flared top of the insert to stop in. Tap the threads that will accept the insert using the thread tap provided in the kit. Ensure that the tap is properly aligned and perpendicular to the workpiece to prevent cross-threading. It may be necessary to remove and clean the tap and hole several times before finishing. This helps prevent (galling) damaging the new threads. Some kits come with a line-up guide or tap guide to help keep the tap straight. For some applications, it's more crucial to have the hole tapped straight. That's why oil pan thread repairs come with a tap guide. If the drain plug goes in crooked, the gasket or washer may not seal properly. After the hole is drilled, counterbored, and tapped, clean the hole thoroughly to remove any chips or debris. Use thread locker if it's needed for the application. I like to use thread locker even if the application doesn't call for it because I feel like it's extra insurance to prevent backing out. Install the Time-Sert insert using the installation tool provided in the kit.
Time-Sert Installation:
Generously apply driver oil (or engine oil as a substitute) to the insert driver to lubricate it. The idea is for the installer tool to cold-roll the threads and expand the bottom; you're NOT cutting threads here. That's why you're not using cutting oil like WD40. There should be no galling risk because the driver is not cutting threads. Thread the insert onto the installation tool by hand until it stops. The insert will only thread on part of the way because of the partially-formed threads at the lower end of the insert. This is by design and makes Time-Sert unique. No other thread repair uses this method to hold their inserts in. Thread the insert and installation tool driver into the prepared threaded hole. The insert should thread in easily until its flange contacts the surface of the counterbored area. Using a tap handle or a ratchet and socket, rotate the installation tool to thread it into the insert. It's normal for it to become more difficult to turn as it expands the partially-formed threads at the lower part of the insert. Continue turning until the install driver becomes easier to turn. This may take 8-10 turns, depending on how long the insert is. About 1/4" past the end of the insert is required for the driver to properly install an insert. If the driver does not become easier to turn, the installation is NOT complete. Caution: Bottoming the driver out in the hole can cause it to break!
Once the insert is installed, unscrew the installation tool driver from the installed Time-Sert insert. Clean oil from threads because the torque spec will be altered if there's oil present. Keep in mind, using blue thread locker on a bolt can affect the torque spec as well. No oil or thread locker is recommended for spark plugs.
Keep in mind that this guide is a general overview of how to use the Time-Sert thread repair system and is not a substitute for following the directions that come with the specific kit you're using. Time-Sert is used and recommended by car manufacturers like GM, Honda, and Toyota. Besides Do-it Yourselfer's, repair centers, machine shops are some of our best customers!
Do you need a specific thread repair kit? We have a large range of thread repair kits for many applications. If you're unsure of which kit you need, feel free to contact us for help. You can use the thread repair lookup tool linked at the top of the page, reach us by phone at 800-734-8665, or fill out our Contact Form with details of your project. At WiseAutoTools.com, we're committed to helping you make a wise choice for your thread repair.
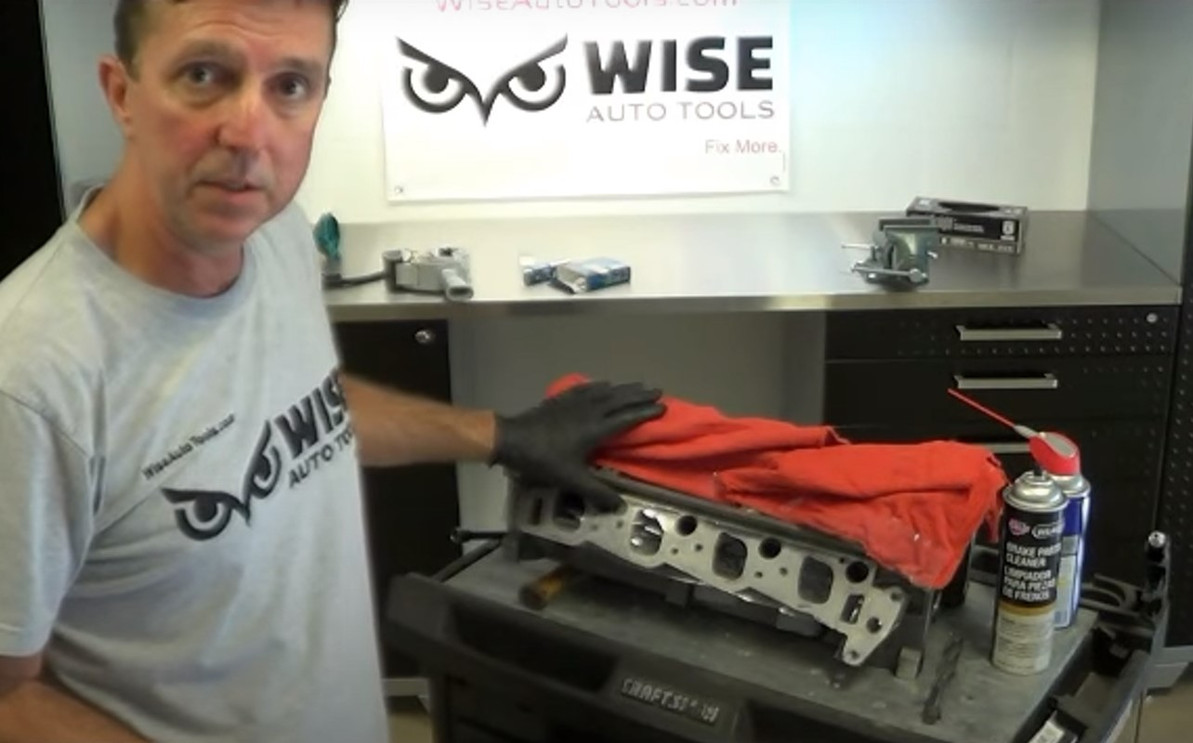
Have you ever wondered who writes these articles? And if they have any real experience using the product? If you haven't already, see my video above showing the use of the Time Sert 5600 kit. If this article or the video helps, please give us a like at Youtube for this video. You can also ask questions there as well.
Recent Posts
-
Debunking Myths: Is Stainless Steel Just Carbon Steel with Rust Protection?
Hello, I'm Dennis Bandy, owner of Wise Auto Tools and a Master Automotive Technician with many years …15th Jul 2025 -
Head Bolt Stripping in Kia and Hyundai Engines: How Common Is It and How to Fix It
A customer recently emailed us with a great question: “What percent of Kia vehicles would you …9th Jul 2025 -
Pentastar 3.6L Head Bolt Thread Repair on a Budget
We recently received a great question from Michael, a DIYer facing a common problem of stripped thre …19th Mar 2025


