

Using TIME-SERT Universal Head Bolt Thread Repair Kits
Wise Auto Tools: Detailed instructions for preparing to use any of the TIME-SERT Universal head bolt thread repair kits, including 11125, 2200, 3700, 4800, 4900, 6250, 7577, 7580, 14300, 15100. Note the Universal kits that in in BS are the Big Sert kits used for second time repairs when the hole has previously been repaired with a Helicoil making the hole larger than normal.
These are directions for preparing to use any of the TIME-SERT Universal head bolt thread repair kits.
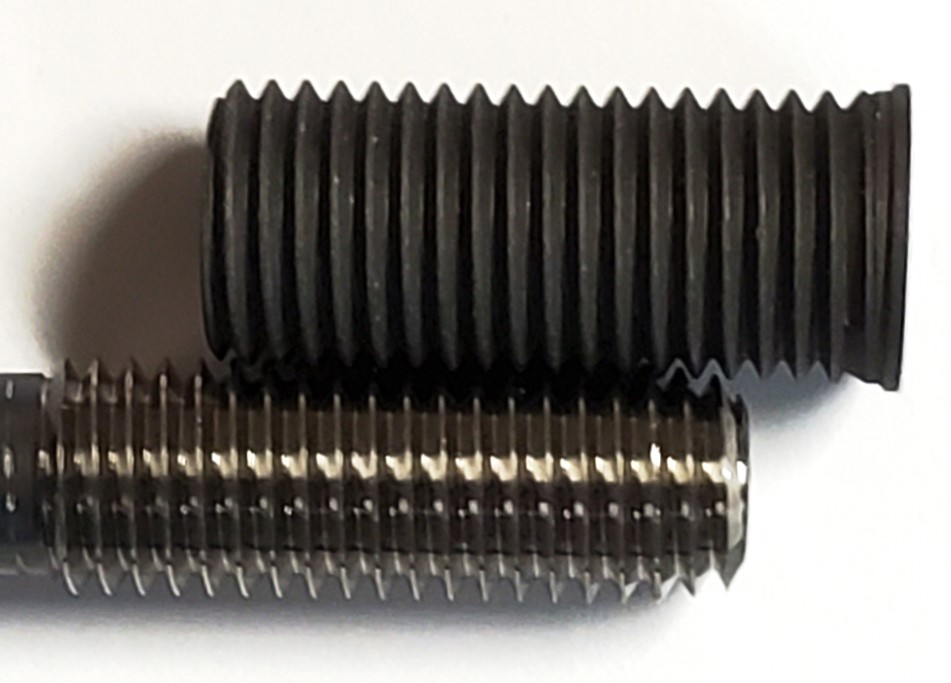
Before we start, a good thread repair practice is to check that your head bolt is the same size and pitch as the insert you're going to install. Simply take your head bolt and start it into the insert to verify the size and pitch are correct. Note that your headbolt will not screw all the way through the insert until it is installed with the install driver tool. The install driver tool finishes cold rolling the threads and expanding and finishing the bottom threads.
Use the metal rule to measure from the top of the block down until it touches the first thread. Some engines can have two different depths of holes so check the measurement for each hole to ensure accurate depths.
Use your measurement from the metal rule plus the length of the drill bushing note some drill bushings are different lengths. Now mark the core drill starting from the counter-bore cutting edge up to the top of the drill bushing. Then place the core drill tap and Driver level on the table so that all the tools are aligned equally at the bottom. Mark your tap and driver using the mark from your core drill. There's also a stop collar provided you can use to put on the core drill.
Tips: keeping chips out using clear packing tape will help keep chips from entering the engine. The tape will prevent metal from not only from getting into the cylinder but also from getting into cooling jackets and oil passages.
Chucking the drill: Be sure to use a half inch drill motor that will accept the drill past the square up to the recess area to ensure the drill will not wobble. Some customers use an air ratchet with a 12 point socket that fits the square end of the tooling. The preferred method is however the large drill which helps prevent putting side pressure on the core drill/reamer.
Drill bushing caution: When drilling be sure the counterbore cutting edge is within the drill bushing. If the second cutting edge hits the top of the drill bushing it can dull this edge and make it difficult to drill. So don't start the drill motor until the cutting edge is through the drill bushing. After completing these steps you are now ready to start the repair
Here is a summary of the key steps to keep in mind:
- Verify the size and pitch of your head bolt by starting it into the insert before installation. Keep in mind the bolt will not go all the way through the insert until the installation process is complete.
- Use a metal rule to measure from the top of the block down to the first thread, and add the length of the drill bushing to get an accurate depth measurement.
- Mark the core drill starting from the counter-bore cutting edge up to the top of the drill bushing.
- Use the provided stop collar on the core drill to prevent drilling too deep.
- To keep chips out of the engine, use clear packing tape around the drilling area.
- Use a half-inch drill motor that can accept the drill past the square up to the recess area to prevent wobbling.
- When drilling, ensure the counterbore cutting edge is within the drill bushing to avoid dulling the second cutting edge.
TAP WRENCH NOTES: A tap wrench is recommended for tapping and for the driver tool.
Using a standard ratchet with a socket on the driver tool can allow you to apply side pressure and unintentionally break the tool in the block, so it is recommended to use a tap wrench for tapping and driving the installation driver tool.
See our tap wrench -
Win W-C67204 Adjustable Tap & Reamer Holder 1/4"-1" (6mm-24mm)
By following these steps, you should be able to successfully repair head bolt threads using the TIME-SERT Universal head bolt thread repair kits.
Question - Do I have to use a 1/2" Drill or can I use an air ratchet?
Answer - TIME-SERT recommends a large 1/2" drill however, we've had many customers use an air ratchet with no issues. Remember putting "side pressure" can break tooling so be aware of that.
Question - How do I know if my head bolt is the same size and pitch as the insert I'm going to install?
Answer - Besides threading the bolt into the insert a few threads, the head bolt size can be verified by matching up a nut from the parts store. Or by looking up the head bolt size at Fel Pro's website. Here's another article we did with more information. How to Determine the Size of a Bolt
Question - How do I use the stop collar to prevent drilling too deep?
Answer - After taking the measurements and making the marks as the directions have outlined, place th stop collar on the core drill/reamer and tighten the set-screw.
Question - What if I'm using a kit that is NOT universal but one that is made specifically for a particular engine?
Answer - These instructions are for the universal kits. As an example, if you are using a specific kit like the TIME-SERT 8313 for a Pentastar 3.6, use the directions that came with your kit. There's no metal rule, sharpie etc. The process is similar but specific kits usually have pre-determined depths and set stop collars.
Question - Why doesn't the bolt go all the way through the insert? Did I get a bad one?
Answer - First check to make sure the thread pitch is correct. Since the outside is synched with the inside you can check double check the thread pitch with the external threads.
The plating may vary slightly and may be somewhat heavier on some inserts, that is why it will feel tighter when screwing inserts on driver tool by hand. This is common on all Time Sert inserts, it's permitted to have a certain variance which is called "tolerance". If some of your inserts only accept a the driver tool a few threads different than another insert, don't worry the driver tool will screw through the insert as designed when completing the installation. Always use driver oil (or 30Wt Motor Oil) on the install driver tool when installing inserts.
Since 2005, we've been providing customers with specialty tools and thread repair kits. If you are unsure which thread repair kit is the best fit for your specific application, we encourage you to reach out to us for assistance. By calling our toll-free number at 800-734-8665 or filling out our Contact Form, our team of experts can help you choose the appropriate kit. Our goal is to ensure that you have the tools and support you need to successfully complete your project with ease and confidence.
Recent Posts
-

Top 5 Causes of Thread Failure
Thread Stripping (Tensile Shear Failure) What happens: The internal or external threads shear off co …29th Jun 2026 -

Repairing Stripped Primary Cover Drain Plug Threads on a 2006 Harley-Davidson FLHTC
One of the more common issues encountered during primary service on Harley Touring models like the 2 …26th Jun 2026 -

The Lifeline for Stripped Spark Plug Threads: Why Professional Tech Support Matters
Dealing with a stripped spark plug thread can instantly turn a routine maintenance job into a high-s …25th Jun 2026