Free Shipping Within USA Starting at $199

How to Replace the U-Joint on a Floor Jack - Video Included

How to Replace the U-Joint on a Floor Jack - Video Included

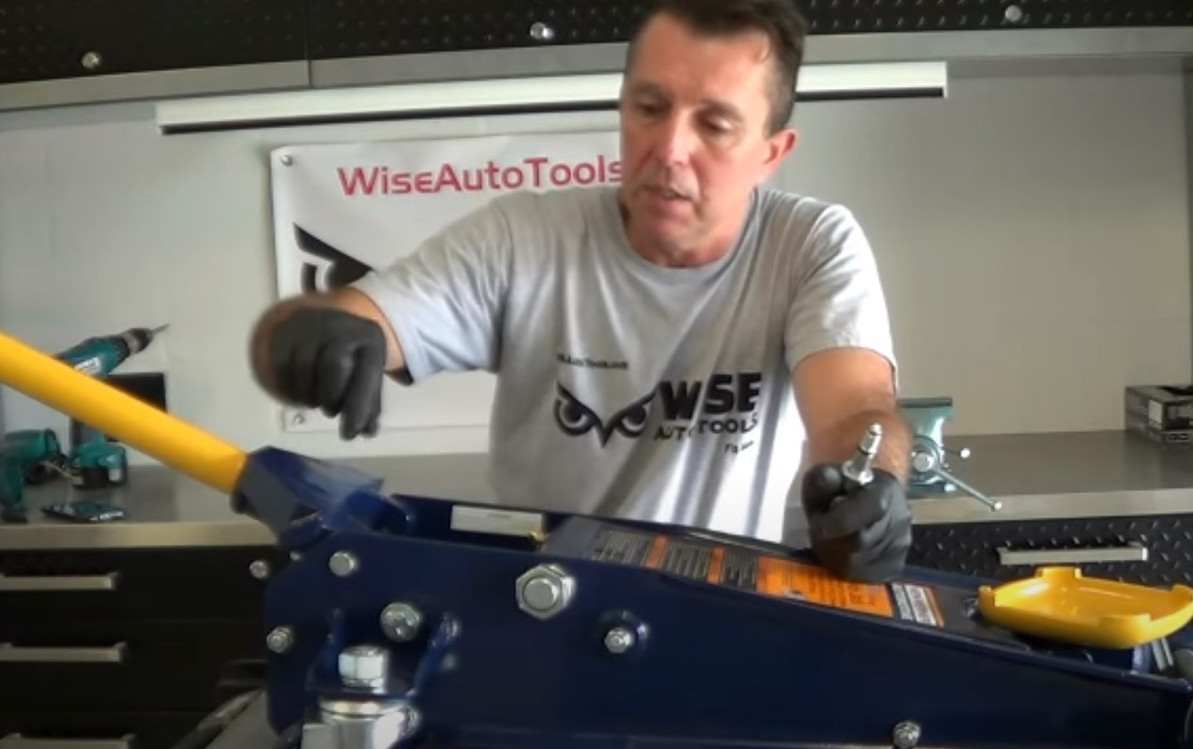
Floor jacks are a great shop tool or lifting vehicles or lifting the engine slightly so a motor mount can be replaced. One wear item in any floor jack is the U-joint which transfers the twisting action from the jack handle to release hydraulic pressure or seal it to allow the jack to be pumped up. Over time, U-joints can wear out, causing binding or even breakage, obviously this could make the jack unusable, but you probably already know that! If you own a 2 to 3-ton capacity floor jack such as Snap-On YA642, Mac Tools JS642USA, or Lincoln 93642, and you've had issues with your U-joint, you can easily replace it with the 248731 universal joint. In this article, we'll guide you through the process of replacing the U-joint on your floor jack. Also check out our video that further simplifies the job.

What You'll Need:

  • 248731 U-joint
  • Wrench
  • Pry bar (if necessary)
  • Grease (for maintenance)
  • A few minutes of your time

Step 1: Preparation Before you begin, make sure your floor jack is in the lowered position and the handle has been removed. This will ensure safety during the replacement process.

Step 2: Remove the Rear Wheels To access the U-joint, you'll need to remove the rear wheels of your floor jack. This will give you access to the side nuts that secure the U-joint.

Step 3: Loosen the Nuts and Bolts Loosen the nuts where the jack pivots but don't remove them completely. Additionally, loosen and remove the 3/4" bolts located behind where the wheels go.

Step 4: Remove the Yoke With the nuts and bolts loosened, you can now remove the yoke that holds the U-joint in place. In some cases, you may need to use a pry bar to partially separate the sides of the yoke, allowing it to slip out.

Step 5: Replace the U-Joint Now that the yoke is removed, you can replace the old U-joint with the new 248731 universal joint. Make sure to align it properly, and remember that this U-joint has a hexagonal end, not a square one.

Step 6: Reassembly Reverse the disassembly process to reattach the yoke, tighten the nuts, and secure the bolts. Make sure everything is properly fastened.

Step 7: Maintenance (Optional) To ensure smooth operation, consider applying grease to the main pivot shaft while the jack is disassembled. Grease the inside of the holes generously to prevent sticking.

Common Questions and Answers:

Q: Why is the new U-joint larger in diameter than the one that came out of my jack? A: The larger diameter of the U-joint is part of an updated design that offers increased strength and durability.

Q: The new U-joint won't fit through the housing. How can I install it? A: Some disassembly may be required for certain jacks with smaller housing openings. Refer to the provided video for guidance on installing the upgraded U-joint with partial disassembly.

Q: I replaced the U-joint, but the jack won't lower properly. What's the issue? A: The U-joint is unlikely to be the cause of the saddle not lowering properly. The problem may be with the main pivot shaft. Ensure it is properly greased and not sticking.

By following these steps and consulting the provided video, you can easily replace the U-joint on your floor jack, ensuring it continues to serve you well for years to come.

Wise Auto Tools' commitment over the years has been to provide our readers and customers with automotive related and car repair articles and supply specialty tools to help them complete their projects. Remember to save our website as a favorite and consider us for your upcoming automotive tool needs.

8th Sep 2023 DennisB

Recent Posts